
 Services
 Portfolio
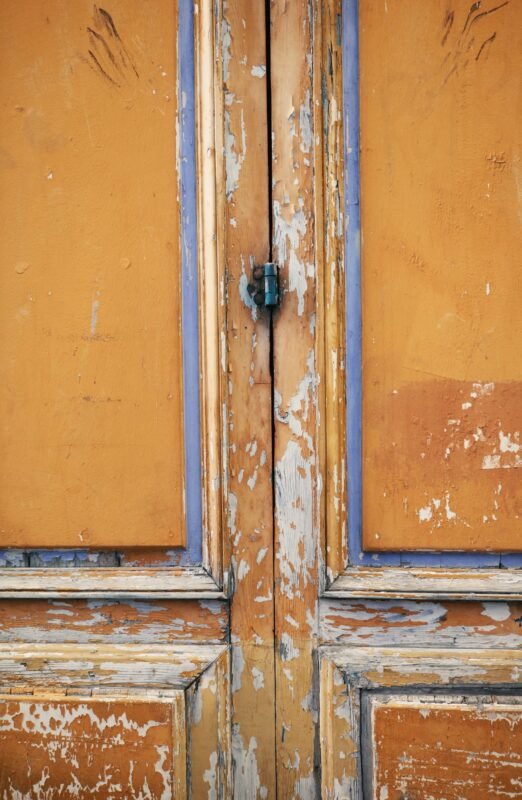
Choosing wooden door paint is not only a colour decision. The existing coating, condition of the timber, location of the door and amount of daily use all affect the finish you should choose. A bedroom door, a frequently handled hallway door and a bathroom door may need different levels of durability and care. Before buying paint, identify the surface, check the manufacturer’s instructions and plan the preparation properly.
This guide explains how to assess an interior wooden door, compare common paint finishes and avoid mistakes that can lead to poor adhesion or visible brush marks. It is intended for homeowners in Den Haag who want to understand the work before starting a DIY project or discussing it with a professional painter.
Choosing wooden door paint for the room and the door
Start by deciding what the door needs to withstand. A door in a busy hallway is touched, opened and closed more often than one in a spare room. Fingerprints, bags, furniture and regular cleaning can mark the surface. In a low-traffic room, appearance may be the main priority, while a frequently used door benefits from a coating that the manufacturer identifies as suitable for interior woodwork and regular cleaning.
Do not choose a product based on the word “wood” alone. Check that the label specifically covers interior doors or interior woodwork and that it is compatible with the existing surface. Some products are designed for bare timber, while others are intended for previously painted wood, primed surfaces or particular types of undercoat. If the door is veneer, laminate-faced or factory-finished, confirm that the proposed preparation and coating system is suitable before sanding or painting.
Match the finish to everyday use
Paint sheen affects both appearance and how surface marks are seen. Matt finishes can create a soft, understated look, but may show handling marks or be less suitable for frequent cleaning depending on the product. Satin and eggshell finishes usually have a gentle sheen. Semi-gloss and gloss finishes reflect more light and can make profiles and mouldings stand out, but they also make dents and uneven preparation easier to notice.
There is no universally best sheen. The best wooden door paint is the product whose technical guidance matches the door and the room. Compare the cleaning guidance, durability claims and intended use on the product label. If the door is part of a set with frames or skirting boards, consider whether matching or complementary finishes will create a consistent result.
Identify the existing door surface before you buy paint
Look closely at the door in good light. Check whether it is bare wood, previously painted timber, a primed door, veneer or a manufactured surface. Look for peeling edges, cracks, dents, swollen areas, loose joints, stains and signs of moisture.
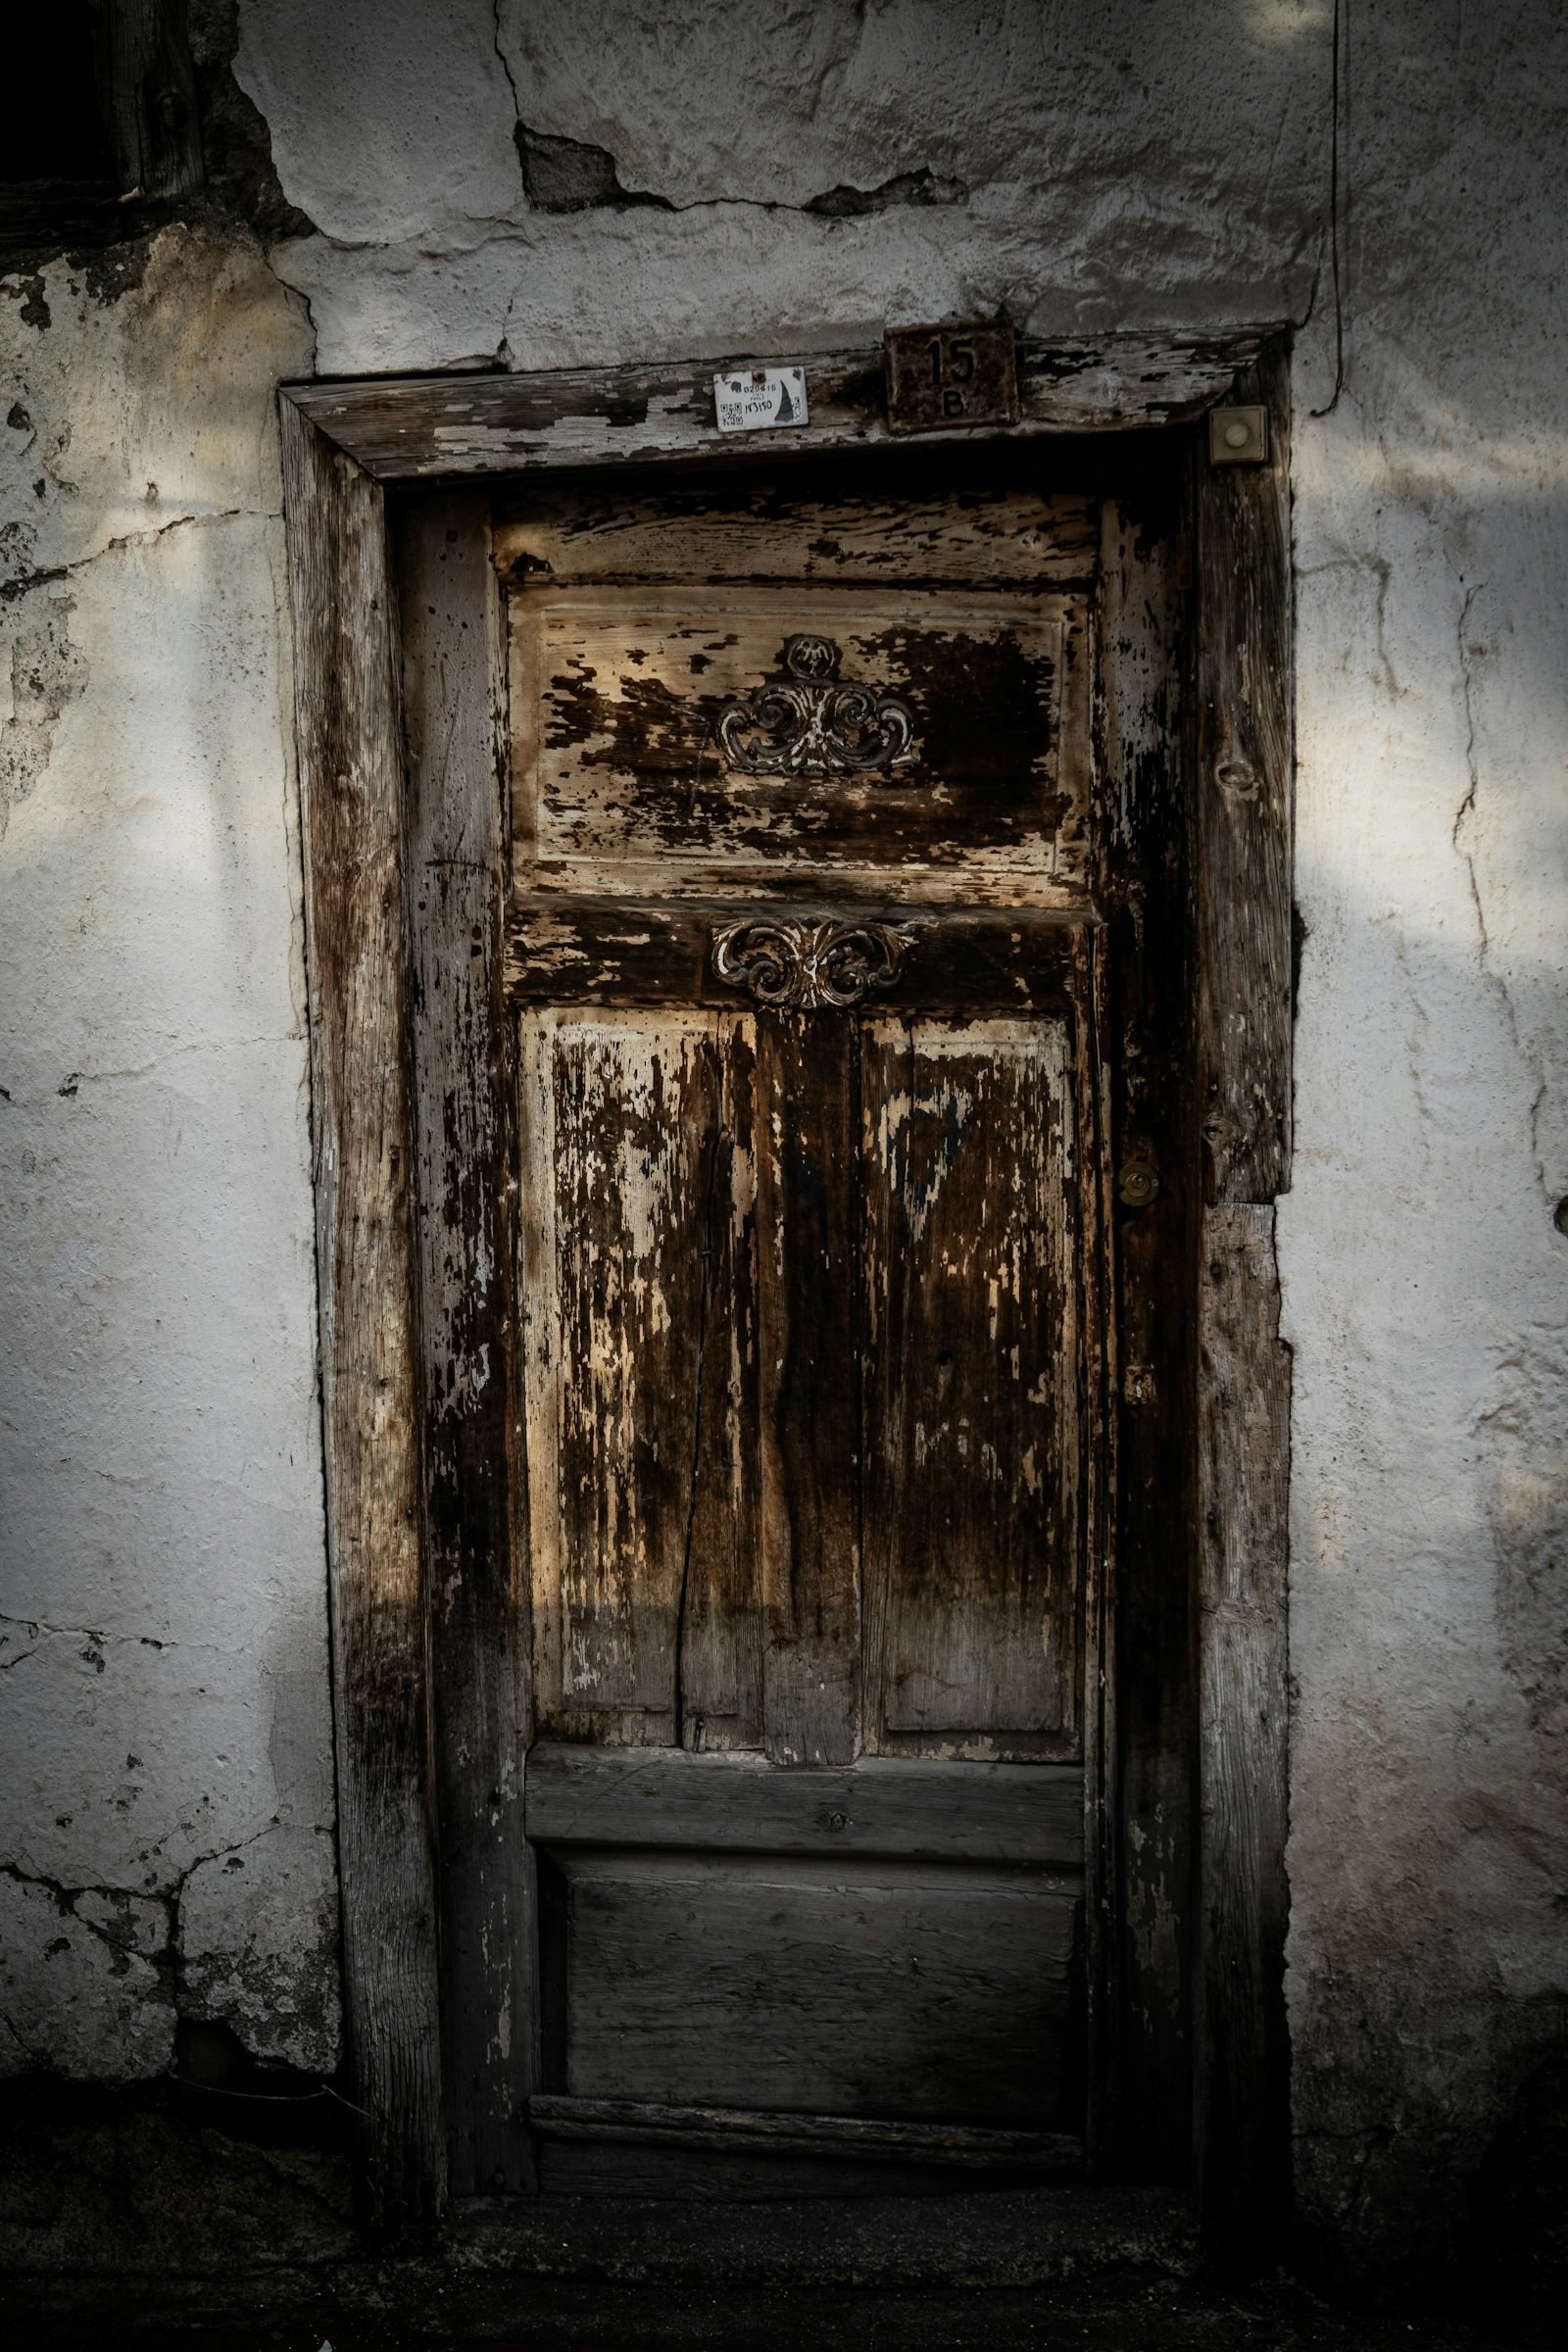
Pay particular attention to the bottom edge and areas around handles, hinges and locks, where wear and dirt often collect.
A sound, previously painted surface may only need cleaning, light abrasion and local repairs, subject to the new paint manufacturer’s instructions. A bare timber door normally needs a compatible primer or undercoat before the finishing coats. A glossy or unknown coating may need a preparation system designed to improve adhesion. Do not assume that a new water-based coating can be applied directly over every older finish.
Check for damage that paint cannot solve
Paint improves appearance and can provide a protective coating, but it does not repair structural or moisture problems. If timber is soft, swollen, rotten or repeatedly damp, investigate the cause before decorating. If a door no longer closes because it has warped or its frame has moved, painting alone will not correct the problem.
For older doors with unknown layers of paint, avoid aggressive dry sanding or heat removal until you understand what the coating may contain. Follow applicable safety guidance and seek qualified advice if there is a possibility of hazardous legacy paint. Keep children and pets away from preparation areas, control dust and use suitable protective equipment.
Prepare wooden doors for a smooth, durable finish
Preparation often determines whether the finished door looks even and remains attached to the surface. Protect the floor, nearby furniture and adjacent walls with suitable coverings. Open windows where appropriate and maintain ventilation in line with the product safety information. Remove handles, locks and other hardware where practical; if an item cannot be removed, mask it carefully without covering areas that need coating.
Clean the door to remove grease, fingerprints, polish and dirt. Use a cleaner suitable for the surface, then remove any residue as directed and allow the door to dry completely. Paint applied over grease or cleaning residue may not adhere correctly. Avoid soaking timber or allowing water to collect at joints and edges.
Once dry, prepare the surface using the method recommended for the existing coating. This may involve light sanding to reduce gloss and smooth minor imperfections, but the correct abrasive and technique depend on the door material and paint system. Remove dust thoroughly before applying primer or paint. Fill small stable dents or holes with a suitable wood filler, allow it to dry and sand it smooth. Larger damage, loose veneer or failing joints may require repair rather than filler alone.
Where bare timber is exposed, use a primer or undercoat specified for that substrate and compatible with the chosen topcoat. Follow the stated coverage, drying time, temperature and recoat instructions. A primer is not interchangeable with every undercoat, and the manufacturer’s complete coating system should take priority over generic advice.
Paint finishes for interior wooden doors
Water-based and solvent-based products have different application, drying, odour, clean-up and performance characteristics. Modern water-based trim paints can be convenient for interior work, but the product must still be suitable for the door and existing coating. Solvent-based products may be specified for particular surfaces or finishes. Compare the technical data sheet rather than choosing solely by the base type.
Check the following details before selecting a tin:
- Substrate: confirm that the product is suitable for bare or previously coated interior wood, as applicable.
- Primer compatibility: use a primer or undercoat that the manufacturer approves for the topcoat.
- Sheen: choose matt, satin, semi-gloss or gloss according to the appearance and cleaning requirements.
- Drying and recoat times: allow the stated time between coats and do not close the door against its frame while the coating is still vulnerable.
- Application method: check whether the product is intended for brush, roller or spray application.
- Indoor use and ventilation: read the safety information and follow instructions for ventilation, protective equipment and disposal.
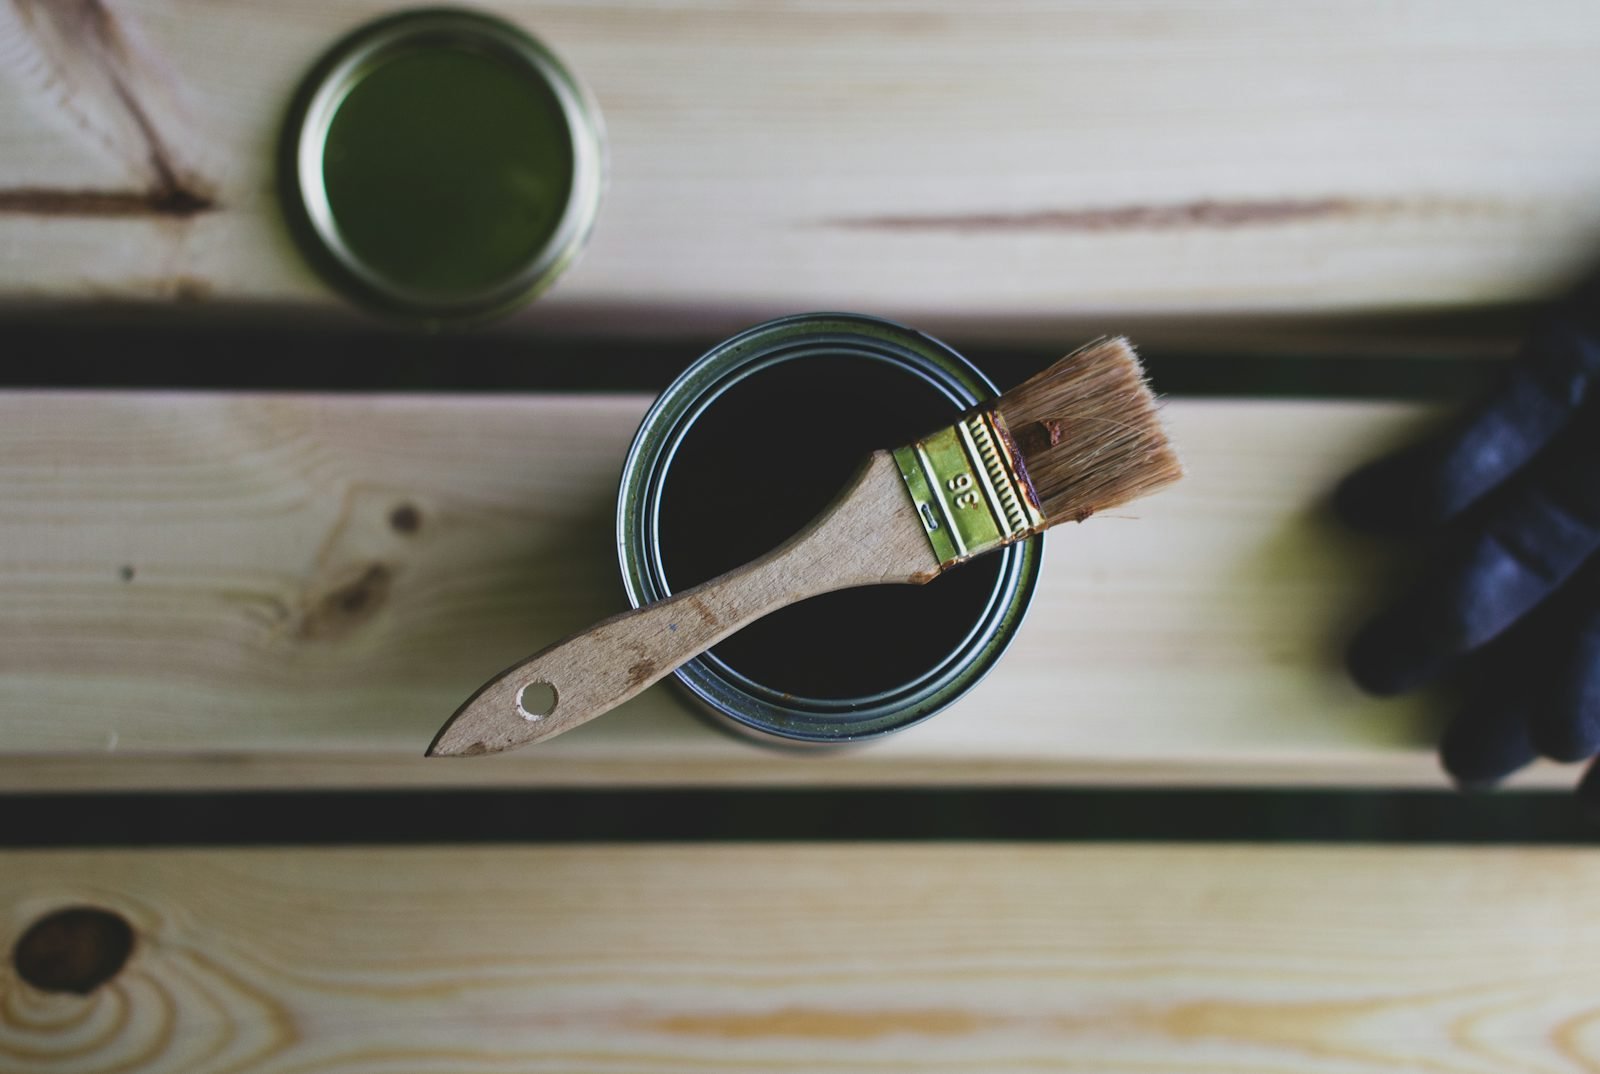
Colour should be considered alongside lighting and nearby finishes. A sample on a separate test surface can help you assess the colour in the room before committing to the full door. Remember that the appearance of a colour can change with daylight, artificial lighting and sheen.
Apply paint to a wooden door in a controlled sequence
Set up a clean working area and follow the product instructions from start to finish. If the door can be removed safely and supported horizontally, that may make access to its edges easier; otherwise, protect the surrounding area and work with the door secured in a stable position. Do not remove a heavy or awkward door unless you have the right assistance and equipment.
For a panelled door, many painters work on recessed panels and mouldings before the wider rails and stiles. On a flush door, use a consistent method suited to the product and applicator. Work in manageable sections, maintain a wet edge where the paint instructions call for it and avoid repeatedly brushing an area after the coating begins to set. Thin, even coats are generally easier to control than one heavy coat.
Use a suitable brush for corners, edges and detailed profiles. A small roller may help produce an even finish on broad flat areas when the paint is designed for roller application. Keep an eye out for runs on the lower edges and around mouldings. Allow each coat to dry for the stated period; if the instructions recommend light sanding between coats, remove the dust before continuing.
Do not rush the final coat or reinstall hardware before the finish is ready. “Touch dry” does not always mean fully cured. Follow the manufacturer’s guidance before closing the door, cleaning it or exposing it to regular handling. Paint can remain vulnerable to sticking and marking while it hardens.
Common mistakes to avoid
- Painting over dirt or grease: clean the surface first and remove any cleaner residue.
- Skipping adhesion checks: identify the existing coating and use a compatible preparation and primer system.
- Using the wrong product: confirm that the paint is intended for the door material and interior use.
- Applying heavy coats: thick layers can sag, dry unevenly or obscure fine details. Follow the recommended coverage and coat count.
- Ignoring edges: inspect the top, bottom and side edges and follow the product guidance for coating them.
- Closing the door too soon: allow sufficient drying and curing time to reduce the risk of the finish sticking to the frame or seals.
- Painting over moisture damage: find and address the source of dampness before decorating.
When to ask a professional painter for help
A straightforward door with a sound surface may be suitable for a careful DIY repaint. Professional help is worth considering when several doors need a consistent finish, the existing coating is failing, the door has detailed mouldings, repairs are needed or the correct coating system is uncertain. A professional can assess the surface, explain the preparation required and clarify what is included before work begins.
Renova Creative lists painting among its home improvement services. You can review the company’s painting and other renovation services and use the contact page to discuss the scope of a project in Den Haag. Confirm the door material, number of doors, current condition and preferred finish when making an enquiry; these details help establish whether the work is suitable.
Frequently asked questions about wooden door paint
Can I paint a door without removing it?
Often, yes, provided the door can be held safely and you can reach the surfaces that need coating. Removing it may make access to the edges easier, but it is not appropriate for every door or situation. Follow the paint manufacturer’s instructions and do not attempt to lift a heavy door without assistance.
Do wooden doors always need primer?
No single rule covers every door. Bare timber, repaired areas and certain existing finishes may need a suitable primer or undercoat. Some previously painted surfaces may require a different preparation system. Check the product data and compatibility guidance for the actual substrate.
How many coats should I apply?
The correct number depends on the paint, colour change, primer, surface condition and coverage. Follow the manufacturer’s stated coat system and drying times. Do not add coats simply because a generic online guide recommends a fixed number.
How can I reduce visible brush marks?
Prepare the surface carefully, use a suitable quality brush or roller, apply an even amount of paint and avoid reworking areas that have started to dry. Temperature, ventilation and the product’s open time also affect how the coating levels.
What should I do if the old paint is peeling?
Do not paint over loose layers. Determine why the coating is failing, remove unstable material using an appropriate safe method, prepare the surface and apply a compatible primer and topcoat. If the old coating may be hazardous or the failure is extensive, seek qualified advice before disturbing it.
Final checks before choosing wooden door paint
Before starting, compare wooden door paint options against the door material, existing coating, condition and intended use. Select a compatible primer and topcoat, prepare the surface carefully and allow each layer to dry as directed. Protect the work area, ventilate appropriately and avoid disturbing unknown older coatings without suitable advice.
For further technical guidance, read the manufacturer’s step-by-step advice on how to paint interior doors. Product instructions always take precedence because formulations and application requirements differ.
If you are planning a door-painting project in Den Haag, review Renova Creative’s published services and contact the team to discuss the work before making a decision.
